
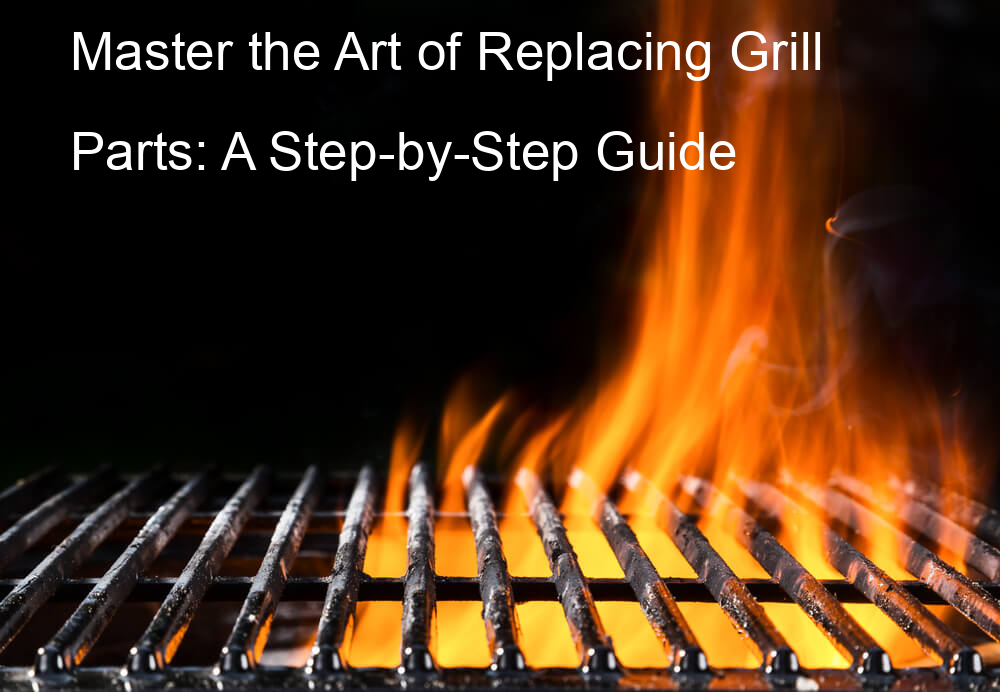
Introduction to Grill Parts Replacement
Grilling is a beloved pastime for many, but to keep your grill in top shape, it’s important to understand the basics of grill parts replacement. This guide will help you understand the importance of grill maintenance and when to consider DIY grill parts replacement.
- Understanding the Importance of Grill Maintenance
- When and Why to Consider DIY Grill Parts Replacement
Regular grill maintenance is crucial for several reasons. First, it ensures your grill functions properly and safely. A well-maintained grill is less likely to have issues like gas leaks or flare-ups, which can be dangerous. Second, regular maintenance can extend the life of your grill, saving you money in the long run. Lastly, a clean and well-maintained grill can improve the taste of your food. No one wants their BBQ chicken to taste like last month’s burnt burgers!
Over time, grill parts can wear out or become damaged. When this happens, you have two options: hire a professional to fix it, or do it yourself. DIY grill parts replacement can be a cost-effective solution if you’re comfortable with basic tools and following instructions. Common parts that may need replacement include the grill grates, burners, and heat shields. If these parts are rusted, warped, or otherwise damaged, it’s time to consider replacement. Remember, regular maintenance can prevent some damage, but eventually, parts will need to be replaced to keep your grill in good working order.
Whether you’re a seasoned grill master or a beginner, understanding grill parts and how to replace them is an important part of grill ownership. Stay tuned for more tips on understanding your grill, recognizing when parts need replacement, and how to safely perform DIY grill repairs.
Understanding Your Grill: A Breakdown of Grill Parts
Every grill enthusiast knows the joy of a perfectly cooked BBQ. But to achieve this, understanding the different parts of your grill and their functions is essential. This knowledge not only helps you use your grill more effectively but also aids in its maintenance and repair. Let’s dive into the world of grills and their parts.
- Identifying different BBQ grill parts
- Grill Grates: These are the metal bars where you place your food. They can be made of cast iron, stainless steel, or porcelain-coated steel.
- Burners: Burners are the heart of your grill. They distribute heat to the grates for cooking your food.
- Heat Plates: Also known as flame tamers, these protect the burners from food drippings and distribute heat evenly across the grates.
- Ignition System: This is what starts your grill. It can be either a push-button or a rotary design.
- Control Knobs: These allow you to adjust the heat level on your grill.
- Function of each grill part
- Grill Grates: They hold your food and transfer heat from the burners to cook it. The material of the grates can impact the heat retention and distribution, as well as the grill marks on your food.
- Burners: Burners provide the heat needed for grilling. They can be adjusted to provide high heat for searing or low heat for slow cooking.
- Heat Plates: They protect the burners from food drippings, which can cause flare-ups. They also help distribute heat evenly across the grates for consistent cooking.
- Ignition System: This part is responsible for igniting the gas that powers the burners. A reliable ignition system ensures that your grill starts quickly and safely.
- Control Knobs: These allow you to control the heat level on your grill, giving you the flexibility to cook different types of food.
Every BBQ grill, regardless of its make or model, consists of several key parts. These include:
Each part of your grill plays a unique role in ensuring a successful BBQ. Here’s a quick breakdown:
Understanding these parts and their functions will help you get the most out of your grill. Remember, a well-maintained grill not only cooks better but also lasts longer. So, get to know your grill, and happy grilling!
Signs You Need to Replace BBQ Grill Parts
Every grill enthusiast knows that a well-maintained barbecue grill can provide years of delicious meals. However, like any piece of equipment, grills can wear out over time and may need some parts replaced. Here are some signs that it may be time to replace some parts of your BBQ grill:
- Decreased Performance
- Visible Damage
- Age and Wear
If your grill isn’t heating up as quickly as it used to, or if it’s not maintaining a consistent temperature, it could be a sign that some parts need to be replaced. This could be due to a variety of issues, such as a faulty burner or a damaged heat diffuser. A decrease in performance can affect the quality of your grilled food, so it’s important to address this issue promptly.
Visible damage, such as rust or cracks, is a clear sign that a part of your grill needs to be replaced. Rust can eat away at metal parts over time, while cracks can lead to gas leaks or other safety hazards. If you notice any visible damage on your grill, it’s best to replace the affected parts as soon as possible to prevent further damage or potential accidents.
Even if your grill is still functioning well, age and wear can take their toll on its parts. If your grill is several years old and has seen a lot of use, some parts may be nearing the end of their lifespan. Regularly inspecting your grill and replacing worn parts can help keep it in top condition and extend its lifespan.
Remember, regular maintenance and timely replacement of worn or damaged parts can help keep your grill performing at its best. Don’t wait until your grill breaks down completely before considering parts replacement. A well-maintained grill is not only more efficient, but it’s also safer to use. Happy grilling!
How to Fix a Grill: A Step-by-Step Guide
Grill maintenance and repair is a crucial part of ensuring your grill’s longevity and performance. The first step to fixing your grill is identifying the problem. Let’s dive into this step in detail.
Step 1: Identifying the Problem
Before you can fix your grill, you need to know what’s wrong with it. Here are some tips on how to diagnose common grill issues and the tools you’ll need for grill repair.
- How to diagnose common grill issues
- Tools needed for grill repair
Common grill issues include uneven heating, low flame or no flame, and a grill that won’t light. If your grill isn’t heating evenly, the problem could be blocked burners. A low flame or no flame could indicate a problem with the gas supply. If your grill won’t light, the issue could be with the ignition system. It’s important to diagnose the problem correctly to ensure you fix your grill properly.
Having the right tools can make grill repair much easier. Some common tools you’ll need include a grill brush, a putty knife, a wrench, and a multimeter for testing electrical connections. Always remember to disconnect your grill from its gas supply before starting any repairs.
Once you’ve identified the problem and gathered your tools, you’re ready to move on to the next step: finding the right grill replacement parts. Stay tuned for more tips on how to fix your grill.
Step 2: Finding the Right Grill Replacement Parts
Once you’ve identified the problem with your grill, the next step is to find the right replacement parts. This step is crucial in ensuring your grill functions optimally after the repair. Here’s how to go about it:
- Where to find grill parts
- Choosing the right grill replacement parts
There are several places you can find grill parts. The first and most obvious place is the manufacturer’s website or store. They usually have a wide range of parts for their grills, and you can be sure of getting the exact part you need. If you can’t find the part you need there, you can check out online marketplaces like Amazon, eBay, or specialized grill parts stores like callthegrillman.com. Always ensure to check the compatibility of the parts with your grill model before making a purchase.
Choosing the right grill replacement parts is crucial for the longevity and performance of your grill. When choosing a part, consider its material, durability, and compatibility with your grill. For instance, stainless steel parts are durable and resistant to rust, making them a great choice for outdoor grills. Also, ensure the part is specifically designed for your grill model to avoid compatibility issues. If you’re unsure, consult with a grill parts expert or the manufacturer.
Remember, the right grill replacement parts not only fix the current problem but also prevent future ones. So, take your time and choose wisely.
Step 3: Replacing the Grill Parts
Now that you’ve identified the problem and found the right replacement parts, it’s time to get your hands dirty and start the actual repair process. This involves three main steps: removing the old grill parts, installing the new ones, and testing the grill after replacement. Let’s dive into each step.
- Removing the Old Grill Parts
- Installing the New Grill Parts
- Testing the Grill After Replacement
Before you start, make sure your grill is completely cooled down and disconnected from its power source. Using your grill manual as a guide, carefully remove the damaged parts. Some parts may require a screwdriver or wrench for removal. Remember to keep track of all screws and small parts to avoid losing them.
Once the old parts are out of the way, it’s time to install the new ones. Again, refer to your grill manual for specific instructions. Make sure each part is securely fastened and in its correct place. If you’re unsure about anything, don’t hesitate to consult a professional or reach out to the manufacturer’s customer service.
After you’ve installed the new parts, reconnect the grill to its power source and test it. Start with a low heat setting and gradually increase it to ensure everything is working properly. If the grill is not heating up or you notice any unusual noises, turn it off immediately and seek professional help.
Replacing grill parts can seem daunting at first, but with a little patience and the right tools, you can breathe new life into your grill. Remember, safety should always be your top priority. If you’re ever in doubt, don’t hesitate to call a professional.
Stay tuned for our next section where we’ll share some safety tips and best practices for DIY grill repair. Happy grilling!
Grill DIY Repair: Safety Tips and Best Practices
When it comes to grill repair and maintenance, safety should always be your top priority. Here are some essential safety tips and best practices to keep in mind.
- Safety precautions during grill repair
- Proper maintenance to prolong grill lifespan
Before you start any grill repair, ensure you’re well-equipped with the right safety gear. This includes gloves to protect your hands from sharp objects and heat, and safety glasses to shield your eyes from sparks or debris. Always disconnect the grill from its power source before starting any repair work. If you’re working with a gas grill, make sure the gas supply is turned off. Never attempt to repair a grill that’s still hot – wait until it has cooled down completely. Learn more about grill safety here.
Regular maintenance can significantly extend the lifespan of your grill. Clean your grill after each use to prevent buildup of grease and food particles, which can cause corrosion over time. Inspect the grill regularly for any signs of wear and tear, and replace parts as necessary. If you’re using a gas grill, check the gas lines and connections regularly for any leaks. Always cover your grill when not in use to protect it from the elements. Find more maintenance tips here.
Remember, safety first! With these tips and best practices, you can ensure that your grill repair and maintenance tasks are carried out safely and effectively, prolonging the life of your beloved grill.
Case Studies: Successful Grill Parts Replacement
Let’s take a closer look at some real-life examples of successful grill parts replacement. These case studies will provide you with practical insights into the process of replacing a grill burner and grill grates.
-
Case Study 1: Replacing a Grill Burner
John, a grill enthusiast from Texas, noticed that his grill was not heating evenly. After some research on Wikipedia, he realized that the problem was with the grill burner. He decided to replace it himself.
John ordered a new burner online, ensuring it was the right model for his grill. He then followed the manufacturer’s instructions to remove the old burner and install the new one. It took him about an hour to complete the process, but he was successful. Now, his grill heats evenly, and he can enjoy his barbecuing sessions without any issues.
-
Case Study 2: Replacing Grill Grates
Susan, a grill fan from California, noticed that her food was sticking to the grill grates. She tried cleaning them, but the problem persisted. She realized that the grates were worn out and needed replacement.
She ordered new grates online, making sure they were the right size for her grill. She then followed a step-by-step guide to replace the grates. The process took her less than an hour, and she was able to do it without any professional help. Now, her food no longer sticks to the grates, and she can grill with ease.
These case studies show that with a little bit of research and effort, you can successfully replace grill parts yourself. Remember to always refer to the manufacturer’s instructions and follow safety guidelines when working on your grill.
Conclusion: Mastering Grill Maintenance and Repair
In this guide, we’ve covered everything you need to know about grill parts replacement, from understanding your grill to identifying when it’s time for a repair. We’ve also shared some safety tips and best practices for DIY grill repair. Now, let’s recap the key takeaways and share some final tips for successful grill parts replacement.
- Recap of key takeaways
- Final tips for successful grill parts replacement
Understanding the different parts of your grill is crucial. This knowledge will help you identify the problem and fix it effectively. Remember, common signs that your grill needs repair include uneven heating, low flame, and a yellow flame instead of blue. When repairing your grill, always prioritize safety. Use the right tools and follow the manufacturer’s instructions.
When replacing grill parts, ensure you purchase the right parts for your specific grill model. If you’re unsure, consult the grill’s manual or contact the manufacturer. Always turn off the gas supply before starting any repair. Lastly, if you’re not confident about doing the repair yourself, don’t hesitate to call a professional. Remember, safety comes first.
In conclusion, mastering grill maintenance and repair is not only about saving money but also about ensuring the longevity of your grill and the safety of your BBQ sessions. With the right knowledge and skills, you can keep your grill in top shape and enjoy delicious BBQ meals for many years to come.